The Art of Curing Meat at Home: A Practical Introduction
Curing meat at home might seem intimidating, but it's actually an accessible and rewarding process. With basic ingredients and patience, you can create delicious cured meats that rival shop-bought versions. This guide covers fundamental techniques for home curing success.
Understanding the Curing Process
Curing preserves meat through salt and nitrates, which prevent bacterial growth whilst developing complex flavours. Traditional dry-curing uses salt and spices rubbed directly onto meat, whilst wet-curing (brining) submerges meat in seasoned liquid. Both methods require cool temperatures and proper timing.
Essential Equipment and Ingredients
You'll need a reliable thermometer, food-grade salt (not iodised table salt), nitrate curing salt (available from specialist suppliers), and fresh spices. A dedicated fridge shelf or cool space maintains proper temperature between 4-8°C. Cleanliness is paramount—sterilise all equipment before starting.
Basic Bacon Curing
Bacon is the ideal starting point. Select pork belly, calculate salt weight (roughly 5-6% of meat weight), and mix with sugar and spices. Rub the mixture thoroughly onto meat, ensuring it reaches all surfaces. Place in a non-reactive container, cover, and refrigerate.
Over 7-10 days, salt draws moisture out—this is normal. Turn the meat daily, ensuring even curing. Once complete, rinse thoroughly, pat dry, and cold-smoke if desired. Slice thinly and cook before eating.
Pancetta Curing
Pancetta follows similar principles but uses pork belly cured in a cylinder. After curing, wrap tightly in muslin and hang in a cool, dry space for 2-3 weeks. This develops deeper flavours than bacon. Slice paper-thin for serving.
Safety Considerations
Proper salt concentration and temperature control are crucial. Insufficient salt allows dangerous bacteria growth. Use curing salt containing nitrates—these inhibit botulism and provide pink colour. Never skip these safety steps. If meat smells wrong or shows unusual discolouration, discard it immediately.
Flavour Development
Spices significantly impact final flavour. Juniper berries, bay leaves, black pepper, and coriander seeds work beautifully. Experiment with small batches to discover preferences. Remember that flavours intensify during curing, so use restraint initially.
Common Mistakes to Avoid
Don't use insufficient salt—this compromises safety. Avoid inconsistent temperature, which slows curing and risks spoilage. Don't skip rinsing thoroughly after curing. Finally, resist opening containers repeatedly; this interrupts the process and allows contamination.
Smoking Your Cured Meat
Cold-smoking adds depth to cured meats. This requires temperatures below 30°C and proper equipment. Hot-smoking cooks the meat, creating a different product. Many home curers skip smoking initially, which is perfectly acceptable.
Storage and Enjoyment
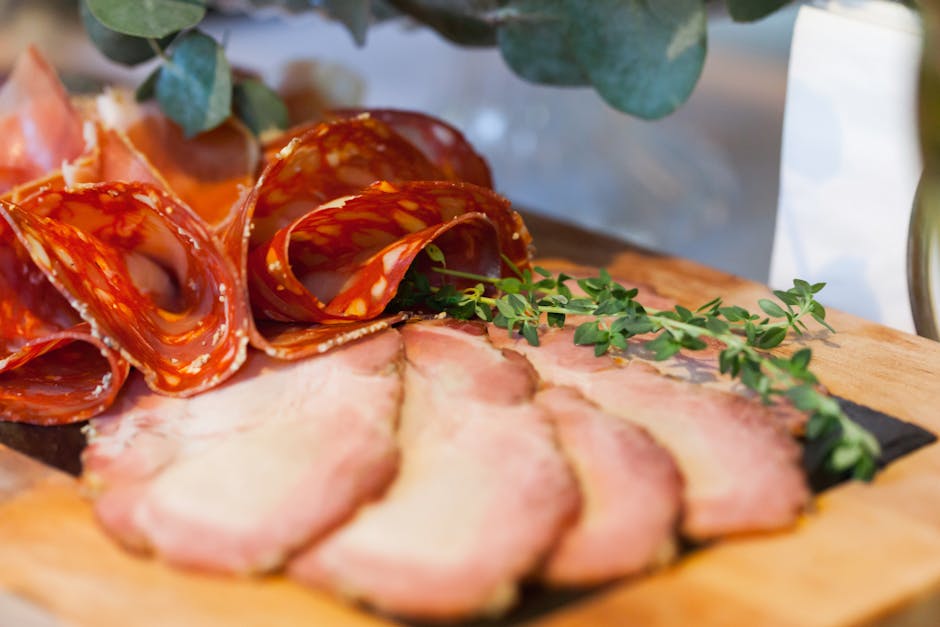
Properly cured bacon keeps refrigerated for 2-3 weeks or freezes for months. Enjoy your creations in traditional ways—crispy bacon for breakfast, pancetta in pasta, or sliced thinly on charcuterie boards.
Home curing connects you to culinary traditions spanning centuries. Start simply, follow guidelines carefully, and soon you'll produce cured meats you're genuinely proud of.